Windows XP Configuration

Chrome Configuration (Hide Images)


  1. Click on the icon Customize and control... (on the top – right corner in Chrome)
    Then choose Settings
  2. Click on the link Show advanced settings…
  3. Scroll the page down to the Network paragraph
    Press Change proxy settings button
  4. Select Connections tab from the Internet Options window
    Then click on the LAN settings button
  5. Tick the option: Use automatic configuration script
    Then enter the address:

    Please login to see the proxy URL.


  6. Click the OK button in order to save the settings
  7. Click the OK button in order to close the Internet Options window

Firefox Configuration (Hide Images)


  1. In Firefox menu click on Options
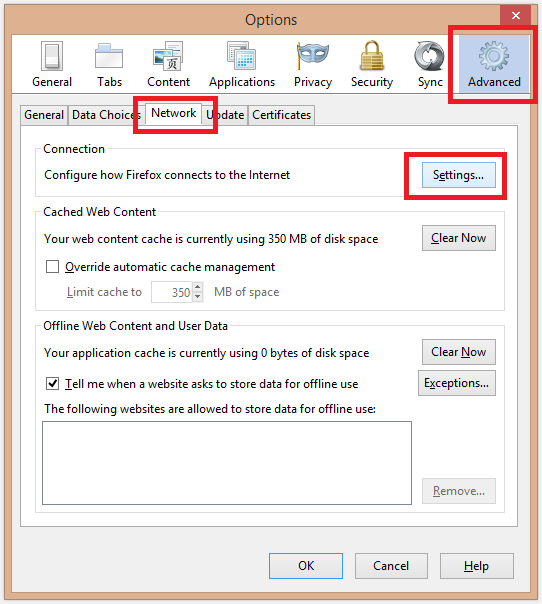
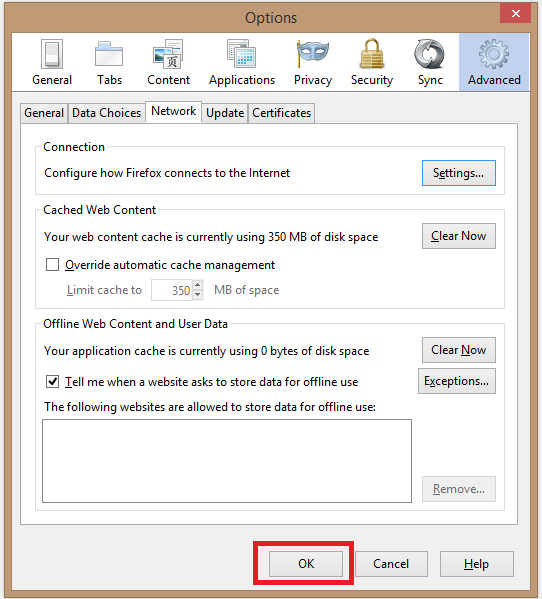
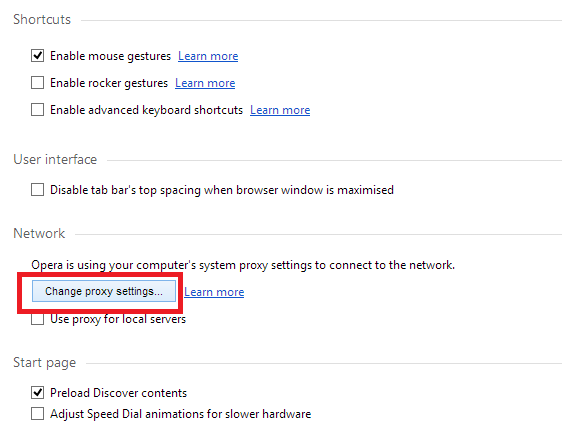
  2. Select the Advanced icon in the advanced configuration window.
    Then select the Network tab
    Then push the Settings button in order to open the Connection Settings window.
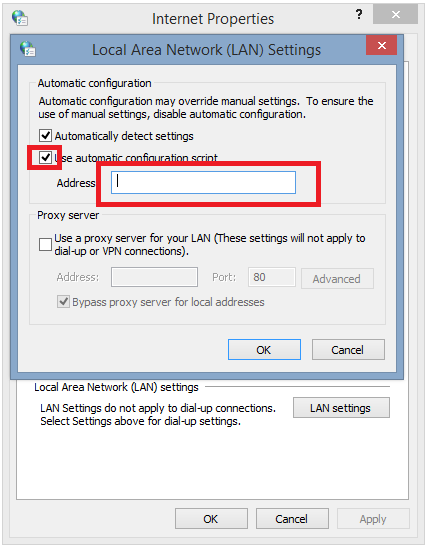
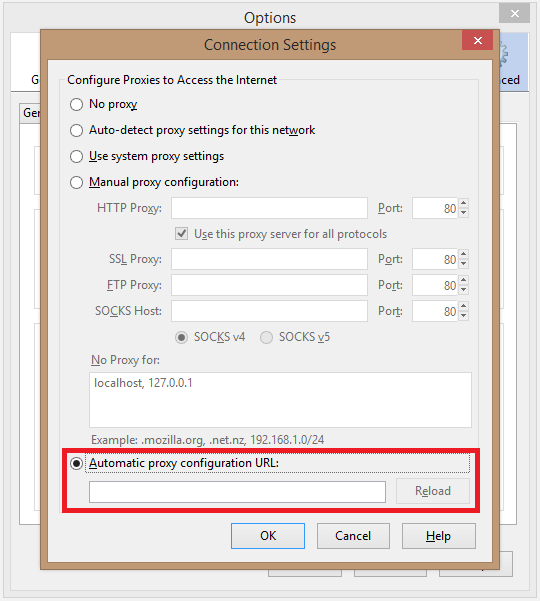
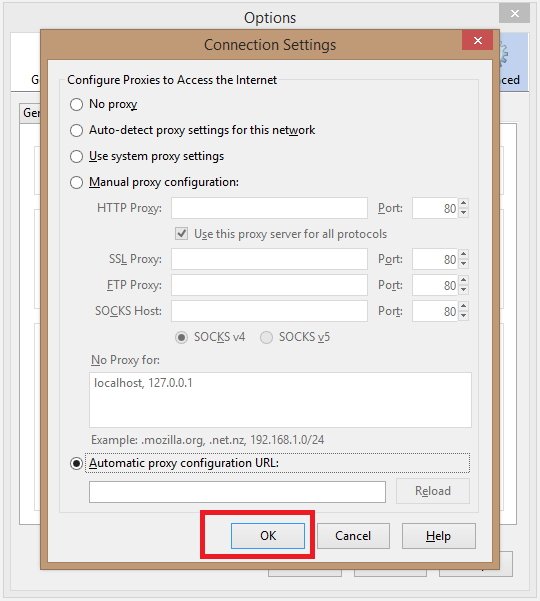
  3. Select Automatic proxy configuration URL:
    Then enter:
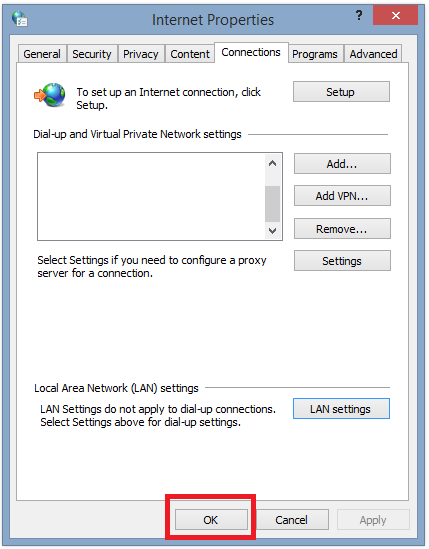
    Please login to see the proxy URL.


  4. Click the OK button
  5. Click the OK button in order to close the Options window

Internet Explorer Configuration (Hide Images)


  1. Click on the Tools menu (top – right corner) in Internet Explorer
    Then click on Internet Options
  2. Select Connections tab from the Internet Options window
    Then click on the LAN settings button
  3. Tick the option: Use automatic configuration script
    Then enter the address:

    Please login to see the proxy URL.


  4. Click the OK button in order to save the settings
  5. Click the OK button in order to close the Options window

Opera Configuration (Hide Images)


  1. In Opera menu click on the Settings option
  2. Click on the Change proxy settings button in order to open the Internet Options window
  3. Select Connections tab from the Internet Options window
    Then click on the LAN settings button
  4. Tick the option: Use automatic configuration script
    Then enter the address:

    Please login to see the proxy URL.


  5. Click the OK button in order to save the settings
  6. Click the OK button in order to close the Options window

Back