Method 2 – Windows 10 DNS Configuration (Hide Images)
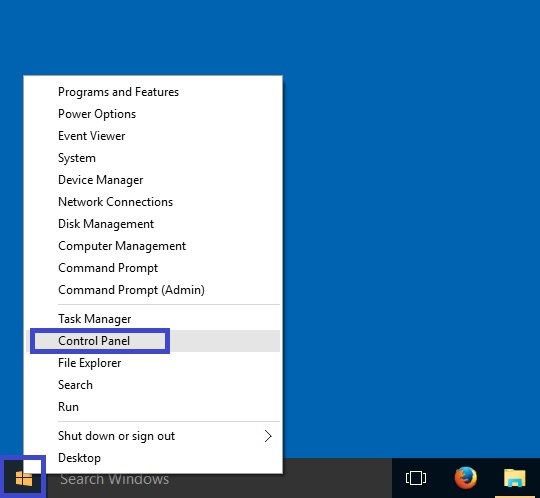
Open the Control Panel
- Right-click on the Start button then click on Control Panel
- or click on the Start button and type control panel. Click on Control Panel to open it.
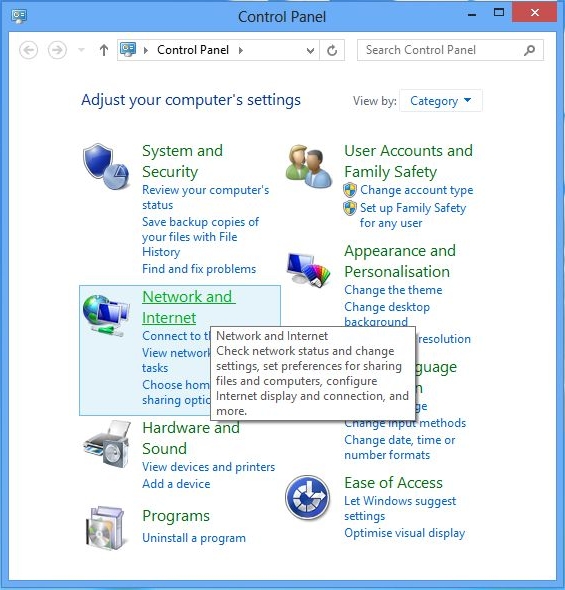
Click on Network and Internet
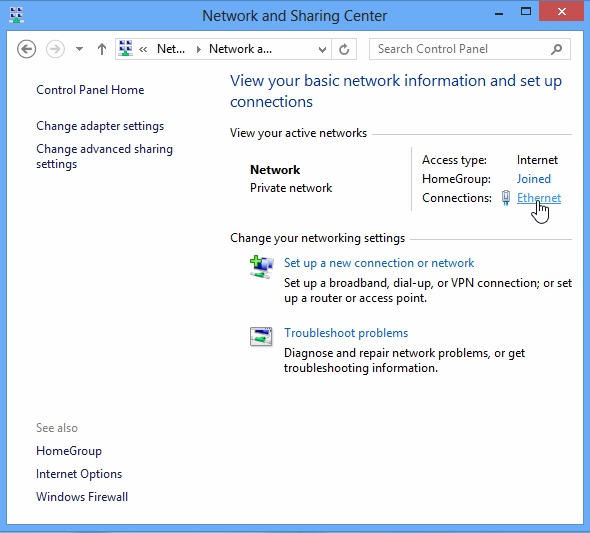
Click on Network and Sharing Center
Find your ACTIVE Internet connection which is described as Access Type: Internet
And click on this active connection which can have one of the names: Local Area connection (Ethernet)
Or Wireless Network Connection
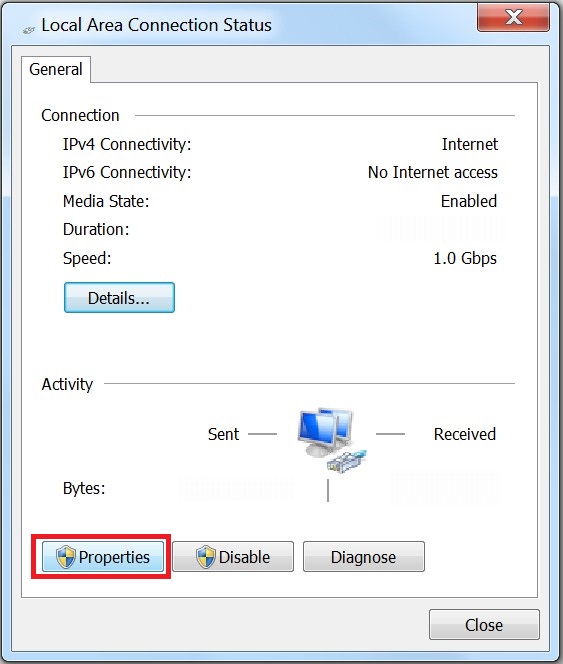
Click on Properties
Click on Internet Protocol Version 4(TCP/IPv4)
Then click on Properties
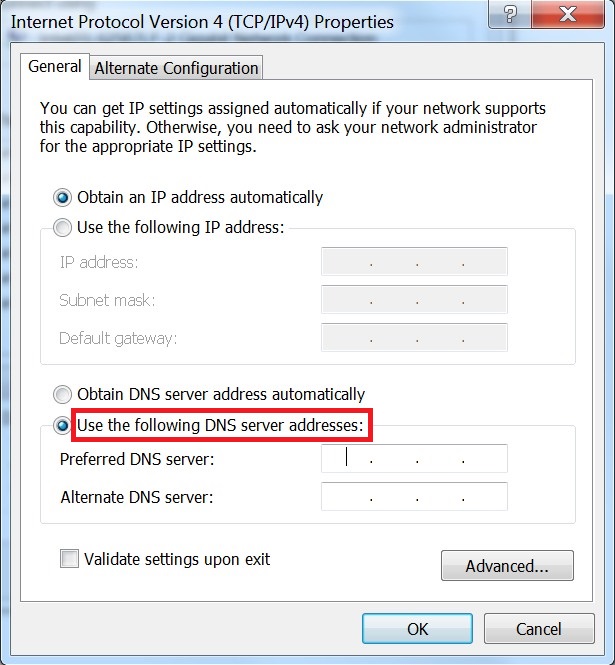
Select the option: Use the following DNS server addresses
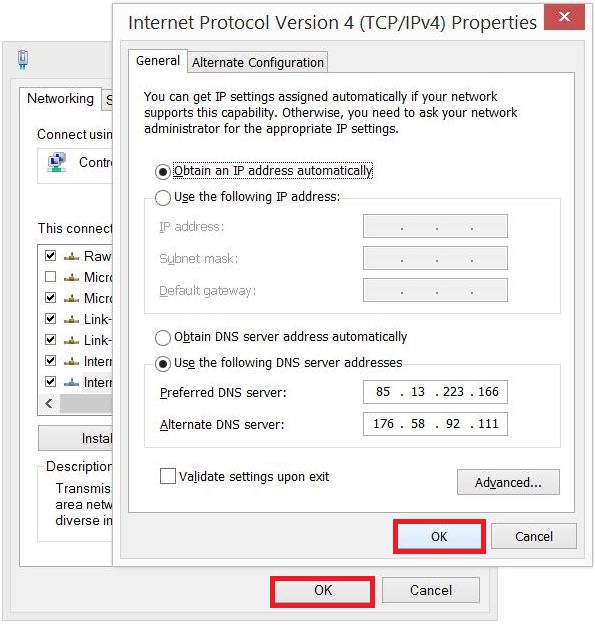
Enter the following information in the available fields. Preferred DNS: 89.32.151.163 Alternate DNS: 89.32.148.84
(For better performance, choose a DNS address that is closer to your location)
Click OK
then Click Close to finish the configuration