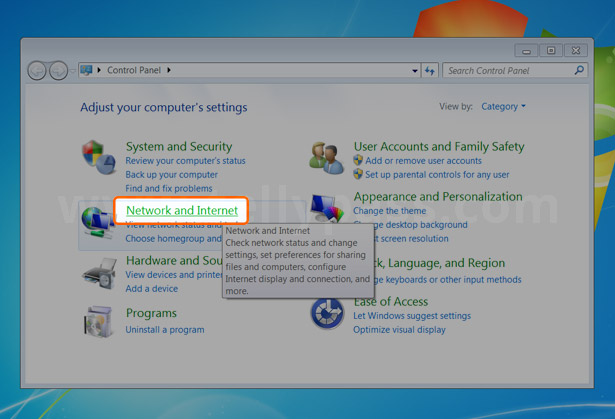
| 1. | 1.Click on Start button and go to Control Panel |
 |
|
| 2. | 2.Go to Network and Internet |
 |
|
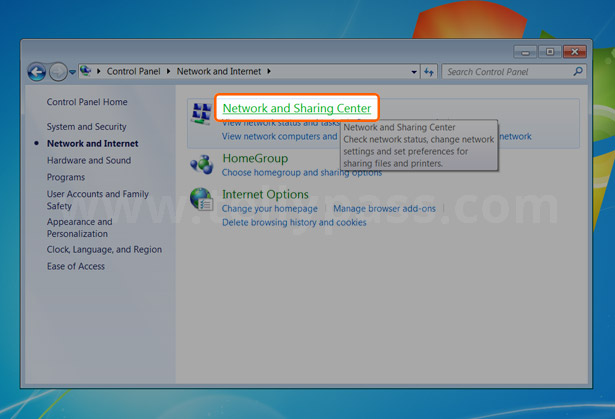
| 3. | 3.Open Network and Sharing Center |
 |
|
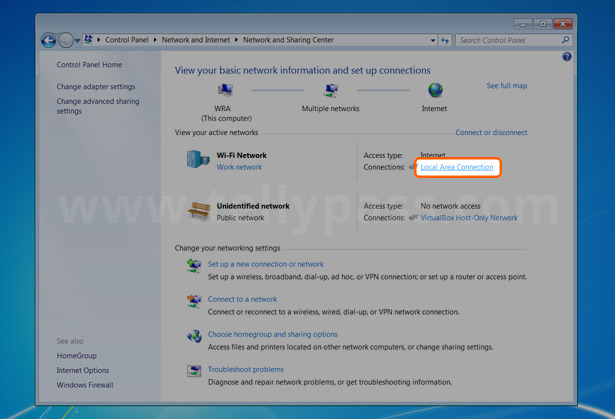
| 4. | 4.For a wired network connection click on Local Area Connection For a wireless network connection click on Wireless Network Connection |
 |
|
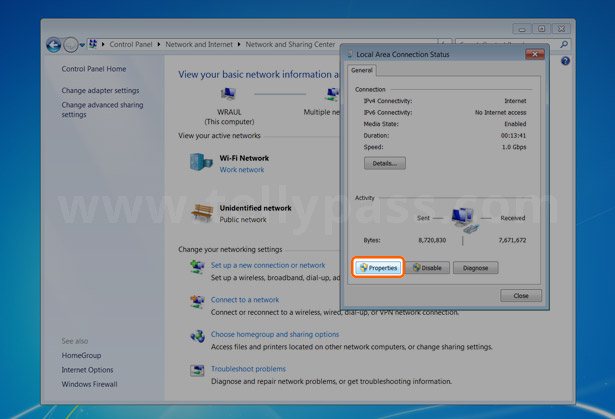
| 5. | 5.Click on Properties |
 |
|
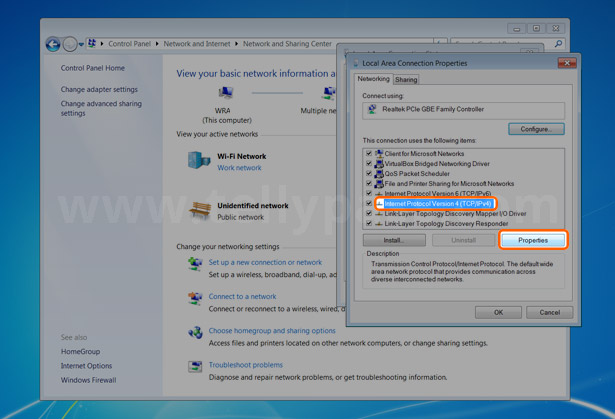
| 6. | 6.Click on Internet Protocol Version 4 (TCP/IPv4) Then click on Properties |
 |
|
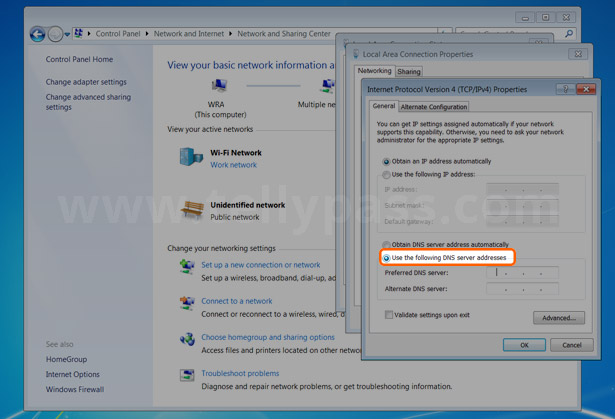
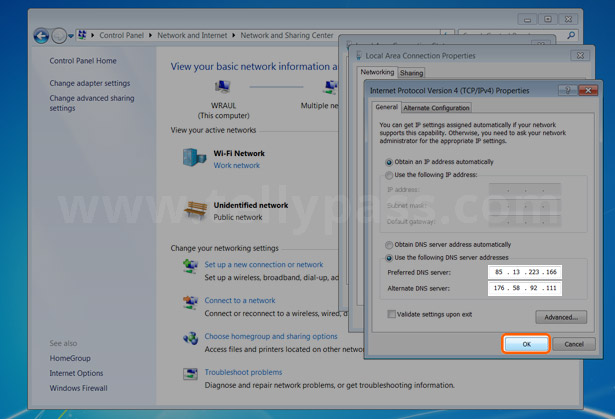
| 7. | 7.Select Use the following DNS server addresses and enter: Preferred DNS server: 89.32.151.163 Alternate DNS server field enter: 89.32.148.84 |
 |
|
|
Hint: For better performance, choose a DNS address that is closer to your location.
|
|
| 8. | 8.Click OK twice and the press Close to finish the configuration. |
 |